
DTS Splint: Splints from Jaw Scans
Project description
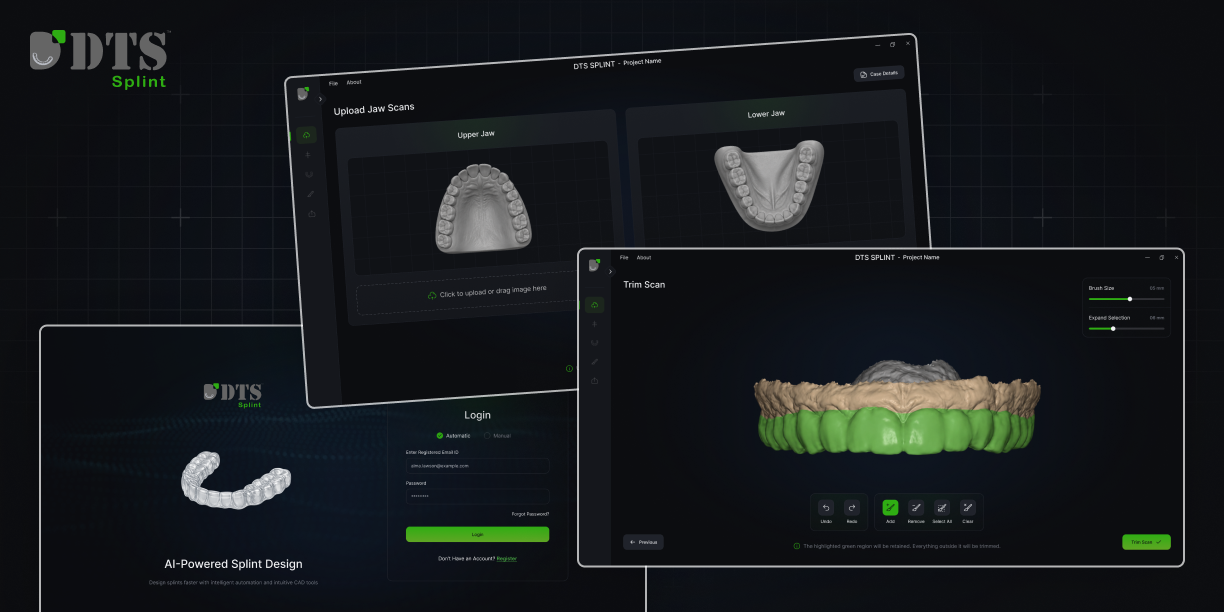
We designed the DTS Splint desktop app so a clinician can sign in, upload upper and lower jaw scans, and trim a splint in one dark, focused workspace.
Workflow mapping through final interface screens: 8 weeks with the product team, covering login, scan upload, trim tools, and the 3D preview.
Designing a splint meant jumping between scan files and a general CAD tool. Clinicians needed the upper jaw, lower jaw, and the trim result in front of them, with the risky manual steps made obvious.
Problem statement
We followed the real job: open a project, bring in the scans, trim what should not be in the splint, and review the result before it leaves the screen.
Mapped the path from login to a finished trim. Separated automatic and manual sign-in, project setup, scan upload, and the trim tools clinicians already expect.
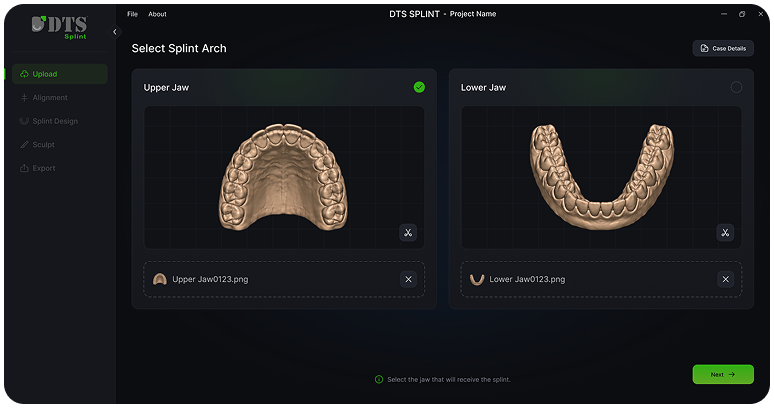
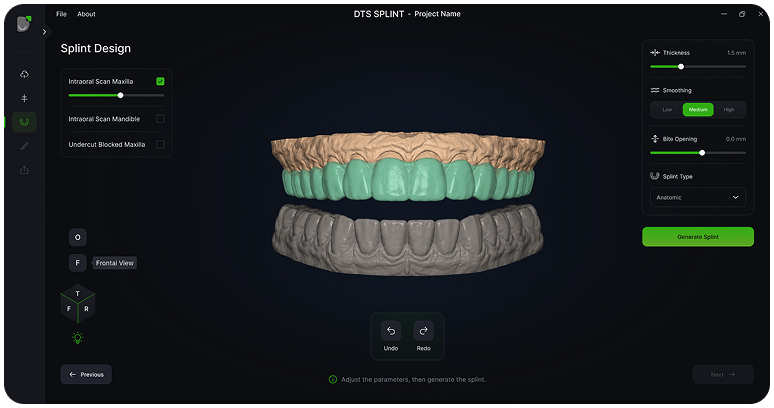
Prototyped a dark workspace with the 3D model as the focus, green for the primary action, and side-by-side upper and lower jaw panels.
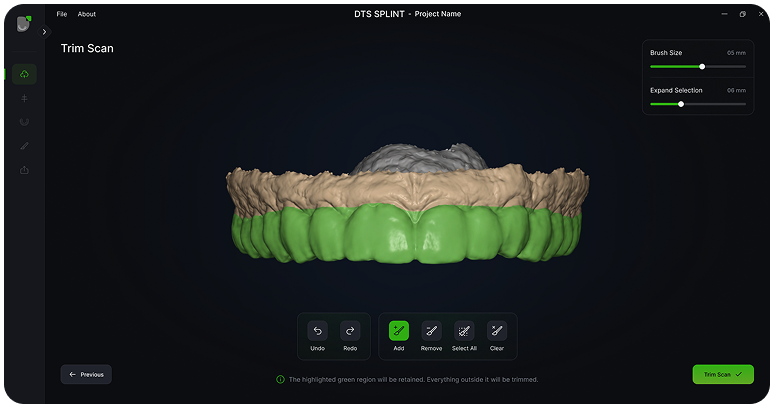
Specified the login screen, scan upload, trim controls (brush size, undo, redo, clear), and the highlighted region that will be removed.
Walked the flow with the product team to confirm a new user can tell which jaw is loaded and which part of the model the trim will remove.
Challenge
DTS Splint keeps the clinical job on one screen instead of hiding it inside a general CAD interface.
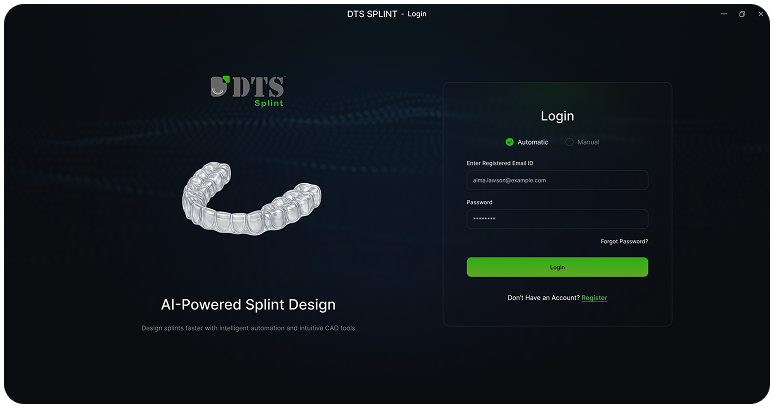
Automatic or manual sign-in sits next to the product itself, so the first screen already explains what the software is for.
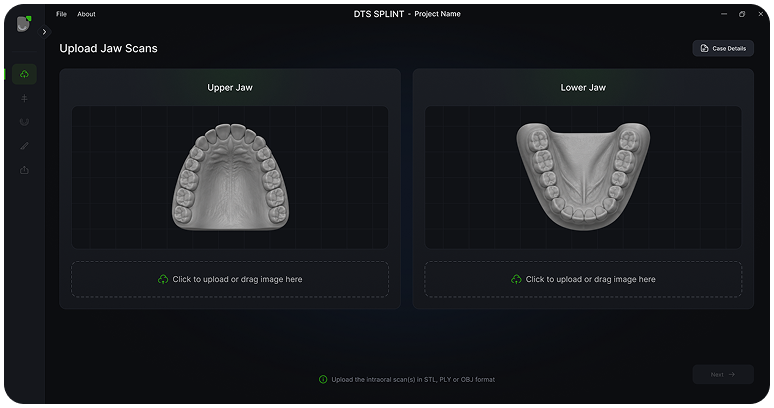
Upper and lower jaw uploads share one project view, with a clear drop area when a scan is still missing.
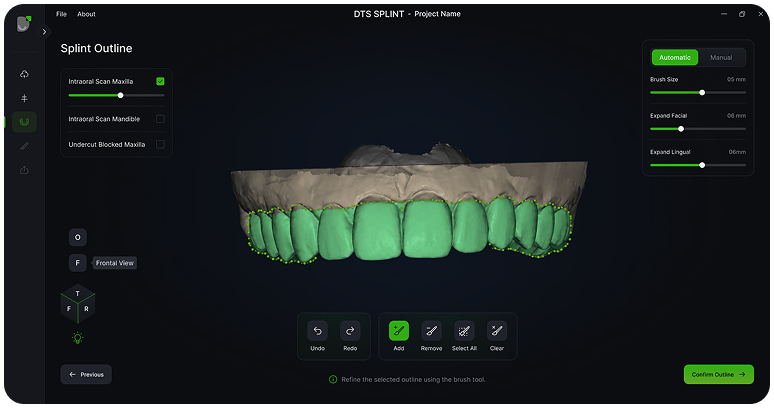
The region that will be removed is marked in green on the model, with brush size and the usual edit tools kept in reach.
Key Findings
Clinicians were leaving the scan and opening a separate CAD tool to design one splint
Upper and lower jaw files were easy to mix up when they lived in different windows
The trim step did not show which part of the model would actually be removed
A generic CAD toolbar made the first session slower than the clinical task itself
Design System
- Heading 184 px
- Heading 264 px
- Heading 348 px
- Heading 434 px
- Heading 524 px
- Sub Font18 px
- Sub Font16 px
- Small14 px
Result
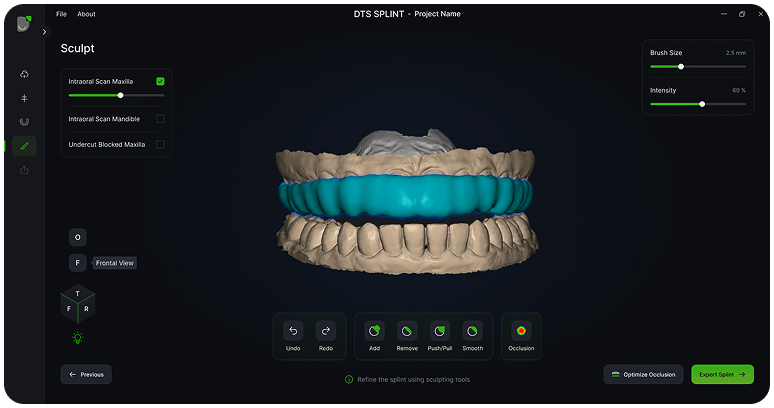
The interface turns splint design into a short project: sign in, load both jaws, trim what is marked, and review the model.
Upper and lower scans sit in the same project, so the case stays together from upload to trim.
Green on the model marks the region that will be removed, which replaces guessing at a brush stroke.
Login, upload, and trim follow one path, so a new user is not dropped into a full CAD toolbox.